Homemade Kombucha

If you're a fan of kombucha like me, you know how satisfying it is to sip on that tangy, probiotic goodness. At around $4.50 Canadian a bottle in my area, it can add up quickly. That's why, after falling in love with this fizzy drink, I decided to take matters into my own hands and brew my own at home.
Now, after over six years of making my own kombucha, I can confidently say that not only is it budget-friendly, but it's also incredibly rewarding and delicious. Plus, my kids are huge fans too! Here's my tried-and-true homemade kombucha recipe:
Ingredients:
1 SCOBY (Symbiotic Culture Of Bacteria and Yeast)
8 tea bags (black or green tea work well)
4 liters of water
1 cup of sugar
Starter liquid (previously brewed kombucha or store-bought unpasteurized kombucha)


Instructions:
Brew the Tea: In a large pot, bring the water to a boil. Once boiling, remove from heat and add the tea bags and sugar. Stir until the sugar is completely dissolved. Allow the tea to steep for about 15 minutes, then remove the tea bags and let the sweetened tea cool to room temperature.
Prepare the Fermentation Vessel: Clean a large glass vessel (like a gallon jar) with hot water, but avoid using soap as it can harm the SCOBY. Once the sweetened tea has cooled, pour it into the glass vessel.
Add the SCOBY and Starter Liquid: Gently place the SCOBY into the vessel with clean hands, then pour in the starter liquid. The starter liquid helps to lower the pH of the tea and prevents harmful bacteria from growing.
Cover and Ferment: Cover the vessel with a breathable mesh or cloth secured with a rubber band. This allows air to flow while keeping out dust and insects. Place the vessel in a warm, dark place (ideally between 75-85°F or 24-29°C) and let it ferment for about 1 week to 1 month, depending on your taste preferences.
Second Fermentation: Once your kombucha tastes tangy and slightly fizzy, it's ready for the second fermentation. Carefully remove the SCOBY and set it aside. Pour the kombucha into bottles, leaving some space at the top for expansion.
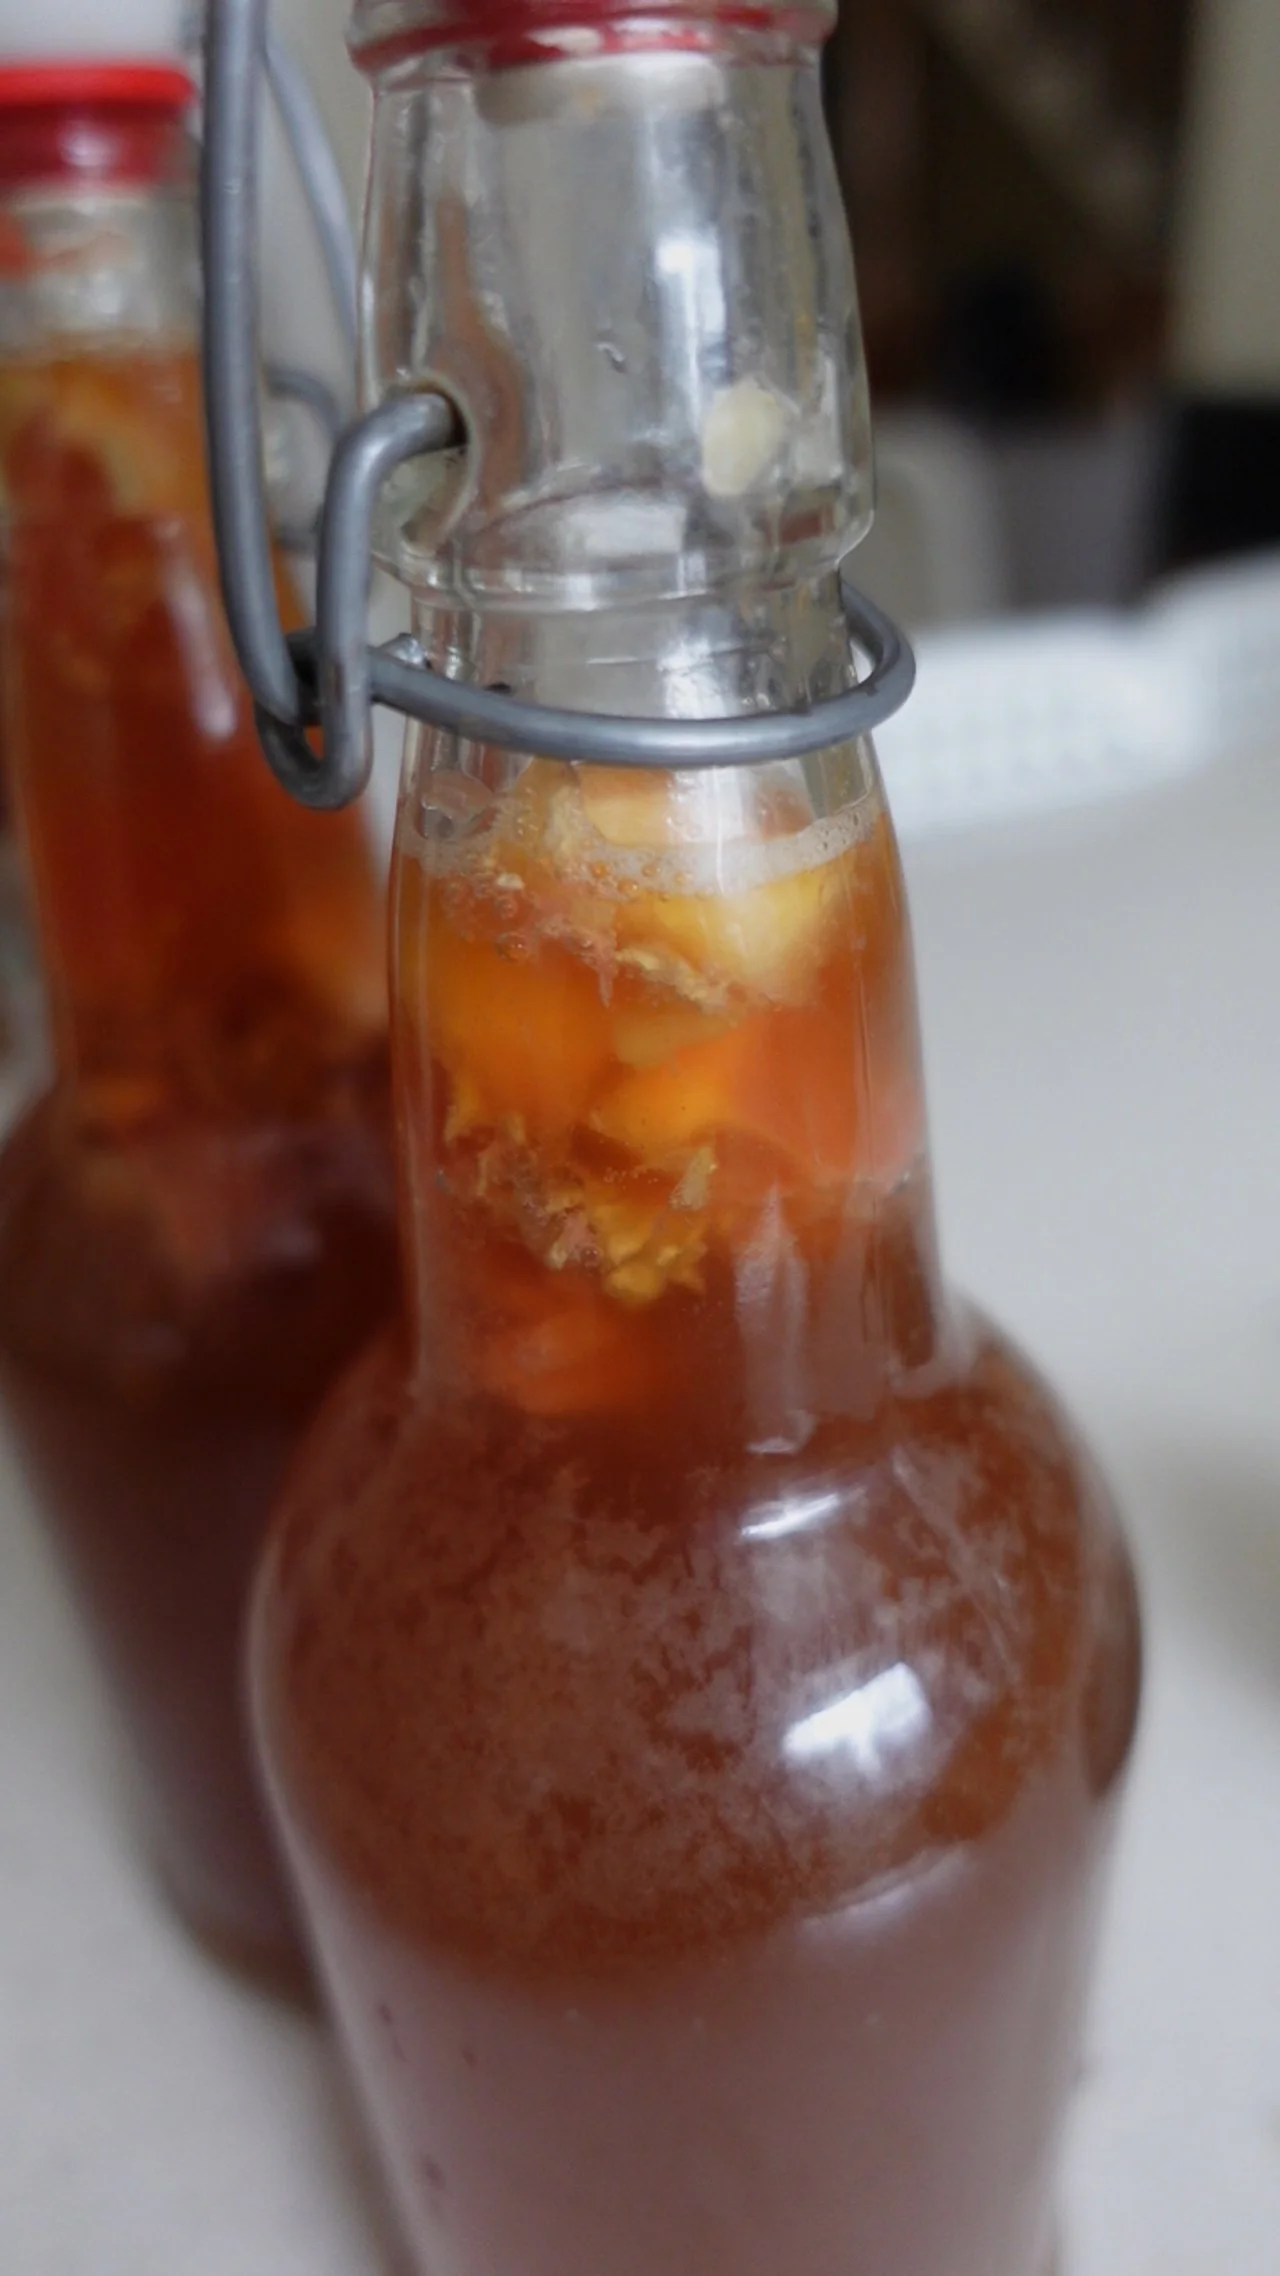
Flavor and Carbonate: This is where you can get creative! Add fruit, fruit juice, or herbs to flavor your kombucha. The natural sugars from the flavorings will create carbonation during fermentation. For extra fizz, try adding ginger slices. Seal the bottles tightly.
Ferment Again: Place the sealed bottles in a warm spot, such as a basement or cupboard, for about 3 days to allow for carbonation to develop.
Chill and Enjoy: After the second fermentation, transfer the bottles to the refrigerator to halt the fermentation process and chill the kombucha. This also helps prevent the bottles from exploding when opened. Once chilled, your homemade kombucha is ready to be enjoyed!
Making your own kombucha at home not only saves you money but also allows you to customize the flavor to suit your taste preferences. So why not give it a try? Your wallet and your gut will thank you!