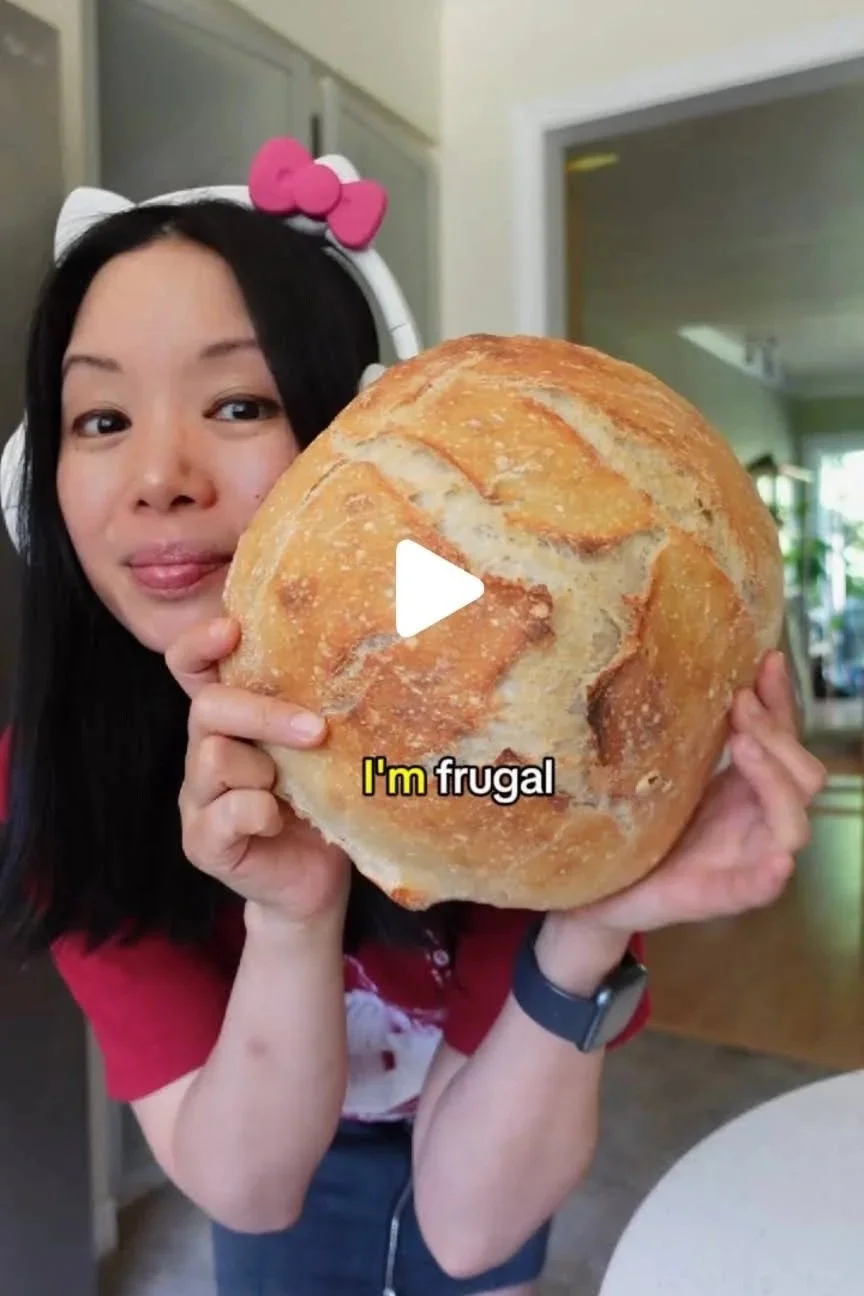
One of the best bangs for your buck is making your own sourdough bread. 🍞 At the store, a single loaf can cost $6 or more, but making it at home saves me so much money. Plus, nothing compares to the taste of fresh sourdough—it’s miles ahead of bagged sliced breads.
The best part? You don’t need to be a professional baker. I’m not, and mine doesn’t always look picture-perfect, but it always turns out delicious. It’s simple, rustic, and budget-friendly.
Why Make Your Own Sourdough?
Saves money – just pennies per loaf compared to store-bought.
Better taste & texture – tangy, chewy, and with a crispy crust.
Simple ingredients – just starter, flour, water, and salt.
Freezer-friendly – bake two, freeze one, and you’ll always have fresh bread ready.
My Sourdough Bread Recipe
Ingredients
50g sourdough starter
330g water (room temperature)
500g flour (all-purpose or bread flour)
9g salt
Step-by-Step Instructions
Mix the Dough
In a large bowl, mix the starter, water, flour, and salt until well combined.
Cover and let it rest for 1 hour.
Stretch and Fold
Every hour for the next 3 hours, gently stretch and fold the dough (this builds strength without kneading).
Shape the Dough
After the last fold, place the dough on a floured cutting board.
Shape it into a ball, creating surface tension so it holds its shape and doesn’t flatten when baking.
Cold Fermentation
Place the shaped dough into a bowl (I use a silicone one so I don’t need to oil it).
Cover—I reuse a shower cap for this!
Let it rest in the fridge overnight, or up to 3 days. (The longer it sits, the more sour it gets.)
Bake
Preheat your oven to 450°F with a Dutch oven inside.
Score the dough so it can expand while baking.
Carefully place the dough into the hot Dutch oven, cover with the lid, and bake for 20 minutes.
Remove the lid, reduce the oven to 425°F, and bake another 16 minutes until golden and crispy.
Cool & Enjoy
Let the loaf cool on a rack before slicing. (Hard, I know!)
I usually bake two loaves at once and freeze one—it tastes just as good later.
I’ve seriously never had bread better than this. It’s crunchy on the outside, soft and airy on the inside, and has that sour tang you can’t find in store-bought loaves. Best of all, it’s frugal, simple, and a little ritual that always brings joy.
So next time you’re tempted to spend $6 on bread, give this recipe a try—you’ll never look back.
